Showing posts with label Pink Tease. Show all posts

Friday, 12 October 2012

Requested Nail Art - Xbox Nails

Hi Guys :)

This was requested by my gorgeous hubby Gary on the facebook page :)

 
He has obviously already seen them and said he loves them, so I am chuffed to bits :)
 
Here is a list of the undies used:
 
Thumb, middle and pinkie, La Femme - Ebony, 
Index finger is Franken - Graphite,
and Ring finger is, believe it or not, ridge filler! lol!
 
I don't actually own a 'tipex' white so use that instead because I don't have ridges.
 
The logo colours are:
 
Thumb, middle finger logo and some swirls on the ring and index fingers, Vollare - No 96
Swirls on the index and ring finger, Vollare, - No 99
Swirls on index, Sally Hansen - Emerald City
Pinkie, Pink Tease - Red


Above is a slightly blurry but less shiny photo to let you see the ring finger a bit better. I didn't get many good pics of this :( But for those of you who want to know what the doodles mean, read on...

The thumb is the simple Power symbol.
The index finger is the current Xbox woosh logo.
The middle finger has gone a bit retro with the original Xbox X logo.
The ring finger is the Xbox ring/ripple/swirl logo.
And finally the pinkie is the dreaded RROD (Red Ring Of Death)!

Also, I tried something different with this mani. My lovely reader Bug had recently tried the dry marble technique and when I came to do this mani, I was reminded of it. So, The index, middle and pinkie were painted straight on the nail but the thumb and ring finger logos were painted onto a sandwich bag. I peeled them off when they were dry and then placed them onto the nails and covered them with clear polish. I tried to do all the logos this way but they ripped as I peeled them off the bag. But, nevertheless, I'm happy with this mani. :)

Hope you like it
Ellie

Monday, 1 October 2012

Requested Nail Art - Pumpkins

Hellloooooo!

:)

Halloween is coming up fast and I love it!!!  Here are the nails suggested by Annie and Steve on Facebook... Pumpkins!


These were fun to do, I loved them! I didn't want to do plain old orange nails with a face so I tried to do something different. I started this arse about face (I love that saying!) by drawing pumpkins with my nail art pen. I then painted them orange and the stalk green. To keep it 'halloweeny' I painted the background purple.


This looked unfinished to me so I added green glitter to the stalks and orange glitter to the pumpkins. I finished with about 3 layers of top coat! No idea why so many! lol!

This has a bit of tip wear as my battery died before I got pics so It was on 2 days before I got these. Hence the raggedy look and dry cuticles :s

Anyhoo, hope you like :)
Pixie~Nails

Sunday, 30 September 2012

Requested Nail Art Pics - Roses and Hearts

Hi guys :)

If you are a fan of my facebook page then you will know that I asked people to make suggestions that they'd like to see. I have had loads but chose the best few to do first.

First up was Alex and Heather asking for roses and hearts.


This was a pretty basic mani but instead of doing plain hearts I decided to make them with single glitters. I placed a full heart on my ring finger and then wanted to do something different, so I put the bottom of a heart on my middle finger, which then looked like a V. I put the 'top' of this heart on the index finger, which ended up looking like an E. It wasn't until I was trying to figure out which way to place the glitters on my pinkie, that I noticed that I could make the word LOVE by placing the glitters in a certain way, so the pinkie ended up an L, or sideways V :)

Below is a blurry pic to show the glitters better as I couldn't for the life of me get a clear pic without glare.


I painted a rose first on my thumb, then thought it looked bare so I painted yellow around it. I didn't like the yellow, so painted it over with baby blue.


Not my greatest mani but not bad for a late night, left-handed mani :)

Pixie~Nails

Wednesday, 5 September 2012

Galaxyish....

Everyone has tried them so, so shall I!


blurry bokeh... purdy

These were quite easy to do, I was surprised to find. I just painted on a very dark navy. I then sponged pearly white, blue and purple on, covered it in gold and silver glitter then finished with a few blue star gems. Ooooh!, I nearly forgot, I also put on some white dots and some single holo glitters too :)


The above photos were the afters because before the whole hand was done, I had thought it interesting and 'kewl' to have an accent nail.... no ellie, just no...
 
It was the disastrous northern lights nail.... Bahahahaha! As you can see it was far prettier in my head than on the nail... I shall never show you anything as rubbish again (touch wood).


So there you have it, galaxy nails a la pixie.

Hope your mascara didn't run/you didn't get in trouble with the boss laughing at Aurora Crapialous :) hehe! Maybe some day I shall do Volcano nails... or Rubbish Green Flame nails! lmao!

til next time my pretties < sorry, watched Wizard of Oz earlier!
Pixie~Nails

Wednesday, 22 August 2012

Butterflyawaywithme!

I know people have done this mani loads but I don't have the stamps (or any stamps for that matter) so I decided to try and do it free~hand.

In this mani I used, a base coat of Beauty UK - Turquoise Shimmer (which is a gorgeous creme) with a coat of Sally Hansen's HD in Spectrum over this. I then used my black nail art pen to draw the wing shapes and a butterfly on the accent nails (I painted a blue wing on top of the white (ridge filler!!) to show the wing on the accent nails). I finished of with white nail pen dots on all nails. I didn't wait long enough to finish off with a topcoat as the white was dragged into the black in some nails. Ah well... lol.


I didn't want to do wing overkill so I gave each hand a butterfly accent nail.


Blurred to show the flecks in Spectrum
Hope you liked
Til next time

Pixie~Nails x


Thursday, 2 August 2012

Wave nail art

Hello my little nail polish addicts :D

I'm in a very good mood today, don't know why but don't you just love that happening :)

Anyways, polish.... I have wave nail art for you today. This has been painted over my last mani, my Moonlit Ocean franken. The 'ocean' bit gave me the idea for this art. (Ha! you don't say Ellie!)

The finished look
I get bored easily and a day after putting on some polish, I am already thinking to myself  'What can I add to this mani?' Sometimes, when I add things - glitter, nail art, bits I find lying around - it works, sometimes it doesn't. This time I think it did.

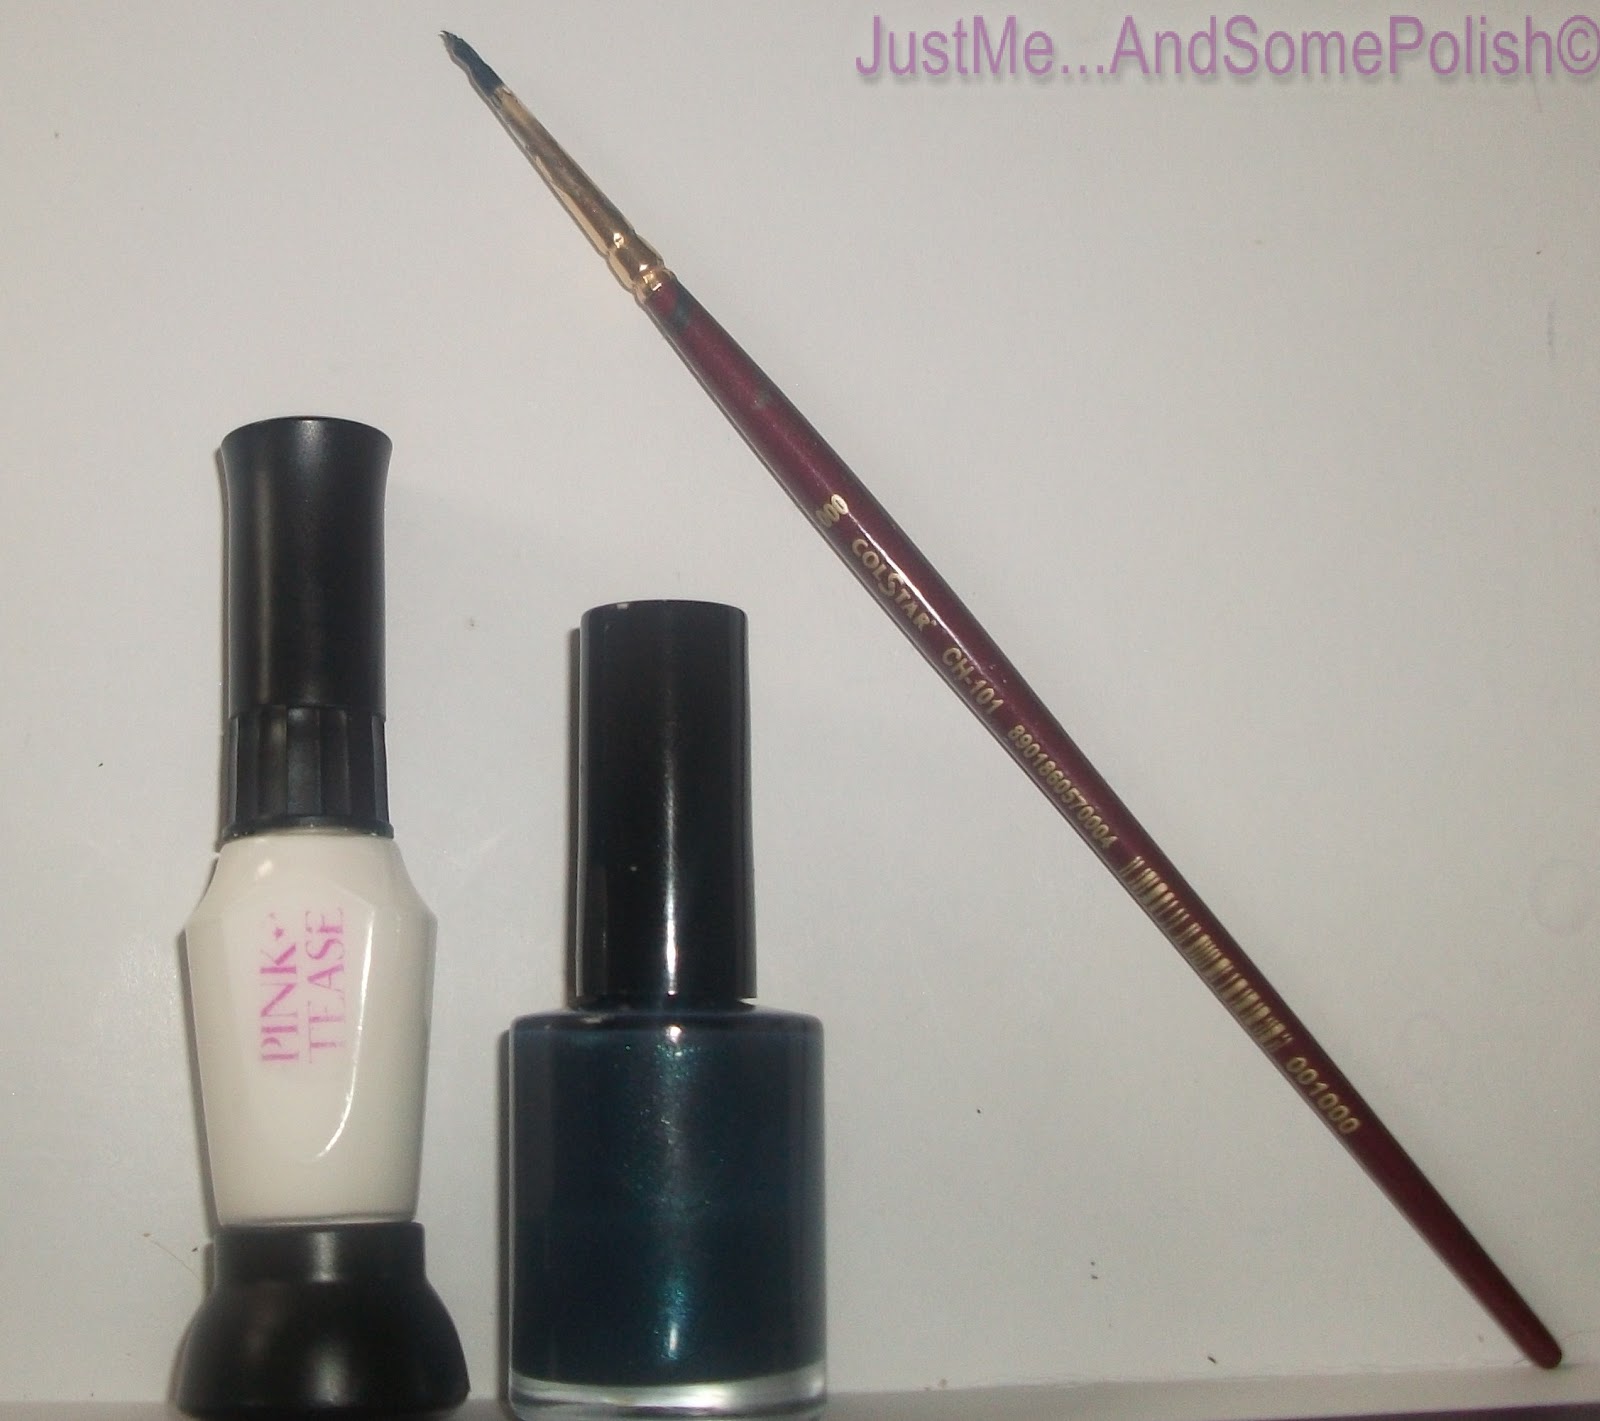
My tools for the Wave look
I don't yet own any nail art brushes but as I'm a painter I have a million brushes lying around so I use one of these. It does the job :) I noticed I didn't get a picture of the teal glitter used on the tips... :/ But a group shot including it can be found in my stash link for the minute, till I get a single shot to post here.

Ok, first I very untidily painted a wave shape on my nails with Pink Tease in white.


Then I roughly filled in half the wave with same.

Then I added some more of the Moonlit Ocean and white with the paint brush to blend them together a bit. Make sure you stipple the edges of the wave to give it a frothy, splashy... you-know-what-I-mean, kind of look. :D


This is what you should end up with.

 Give it a top coat to get rid of the stipply brush marks.


I then decided to add some glitter to them to give it that 'moonlit' sparkle. Then added another top coat. My nails should be an inch thick with all these coats!!

glint!


Don't forget to click on the pics to enlarge them.
Hope you like
See ya soon :)

Pixie~nails x

Monday, 23 July 2012

I suppose you'd call these... Filigree?

I'm not REALLY sure what these would be called but Filigree is probably the closest thing.

Here are 2 (badly lit) end shots:

In artificial light at night

Artificial light
 This is one I have wanted to do as a full mani for ages. I normally just doodle on one or two nails and end up taking it off. I basically just painted a few swirls on with my nail art pen, Pink Tease in Black and added a few dots to add extra coverage. In this shot, I painted one of my nails with a matt topcoat. I think it still looks good matt.

Close up with flash, matt coat.

This is it finished with a glossy topcoat. This is what I wore for a few days. I got good wear out of it and the only reason it came off was because I got bored with it! I painted one finger with a matt coat to show what it looks like and get a shot for the blog (above) so you can get a good idea of how it looked after 3 days wear and that was doing regular mummy stuff like washing, cooking and cleaning WITHOUT gloves!!

Close up with flash, gloss coat.

This was the base coat I chose to wear, Wet n Wild Xplode colour E74409. I love the goldy-green sheen you can see on this. This was seen in real life too.

Base coat of Wet n Wild X-plode
I hope you enjoyed reading.

Pixie~nails x

Friday, 13 July 2012

My First REAL Post!


My First REAL Post!


(AND ON FRIDAY 13TH!!! )

Hi everyone!

I was unsure which polish to start my blog with, so I just closed my eyes, stuck my hand in the box and lifted a random one out.

It was a polish  by a company called Vollare Cosmetics. It does not have a colour name but it does have a number... unfortunately I can't tell you it as it's been rubbed off! :s


I had never heard of this brand before but it was bought for me by my DH from Prague. (I have a range of these colours, so will swatch them all at some point)
It is a lovely pale mint green shade that goes on quite sheer so will need several coats. I used 3. I noticed it had a very strong smell, like seaside rock you'd get from Newcastle/Blackpool etc! lol!


3 coats of Vollare Cosmetics No:?

After it had dried (each coat for 20 mins) I put on 2 coats of Hedy's Manishma - Beyond Opal. This is a gorgeous opal sheer polish that shimmers green and purple.


                        This is it indoors looking purple                            

This is it in artificial light looking green

2 coats of Beyond Opal

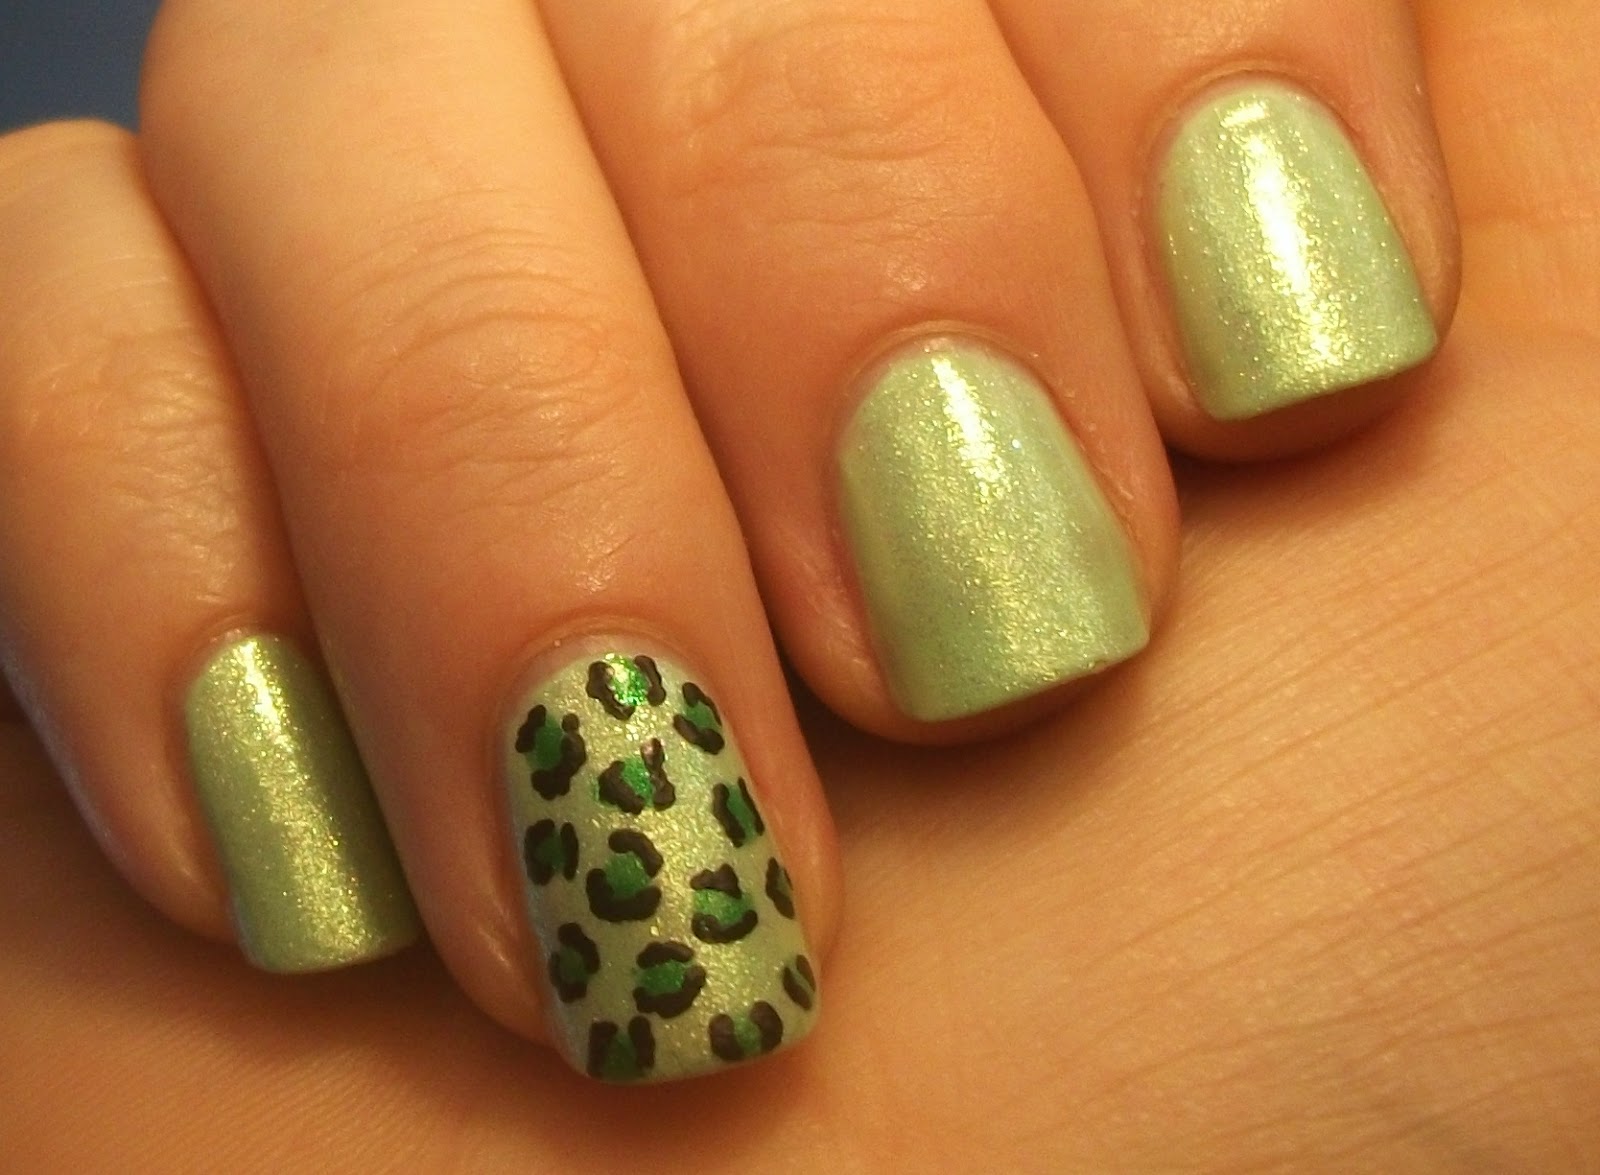
After this had dried, I decided to use my nail art pen/brush Pink Tease in Black and Sally Hansen Xtreme Wear in Emerald city to do a leopard print on my ring fingers

Pink Tease in Black

Sally Hansen In Emerald City

Close up in natural light

In artificial light

I also used a base and top coat - both La Femme.

I know I need to get my photo skills sorted. I'll get better as I go along :D

I hope you enjoyed
Pixie~nails x