(In my house anyway!)
(Of course I'm not going to stop buying them... I'll eventually give in to their ways!)
But for now, I've discovered something that may just interest you if you are a lover of said polishes...
Behold, the wonder that is....
HOMEMADE SHATTERS AND SPOTTEDS!!!
Yes, you read correctly, homemade, simple and most importantly,
FREE!!
 |
| Versatile effects! |
 |
| So simple to do! |
 |
| Crackle effect homestyle! |
So, if you like what you see and want to know how to do it, read on...
First, choose what colour you want as an effect colour...
I chose basic black (I'm hoping brand shouldn't matter, I used LaFemme)
I put a few drops of this on an old plastic lid with a few drops of water and a few drops of baby oil.
Mix this together with an orange stick or similar.
 |
| Water, oil and polish mix |
Working quickly (as I didn't know how long this would 'keep') I painted it on a ready painted, and dried, nail, just as you would ordinary crackle (I just used the previous rainbow manicure). The difference being, as it has baby oil in, it will 'crackle/shatter/split' straight away so no waiting. You see the effect so can manipulate the look with the brush. Also, as its got oil in it, it won't dry super fast like Barry Ms nail effects.
 |
| This one looks like butterfly wings... Idea for future post!! |
When I first painted it on, I couldn't believe my eyes! But I also thought it wouldn't work with having oil and water in. I thought it wouldn't dry.
So... gutted but amazed, I got on with messing about with other effects...
 |
| Some look like crackle, some like shatter... some like a mess! |
I then tried something else. I painted my nail black and while it was still wet, swabbed over it with a cotton bud.
This is the result...
 |
| Just after I swabbed with bud |
 |
| With top coat |
This made me actually say the word 'meh'
Ok, so try something else....
I then remembered something that happened when I *whisper whisper* <~ (secret for another post!!)
So I tried something like it for this....
I painted plain, ordinary black polish (no oil) on top of 2 shades of pink (brand names and colour names don't matter to me in this post, just the amazing effects) and placed plastic, like sweet wrapper plastic on top, much like you would with foils. I forgot to take a picture of this step... whoops!
Then I poked the top with an orange stick to make little 'indents'. I left it over sized so I could get it off as I found out when I *whisper whisper* (heh heh, bet you hate me, but you will find out soon!) it stuck good!
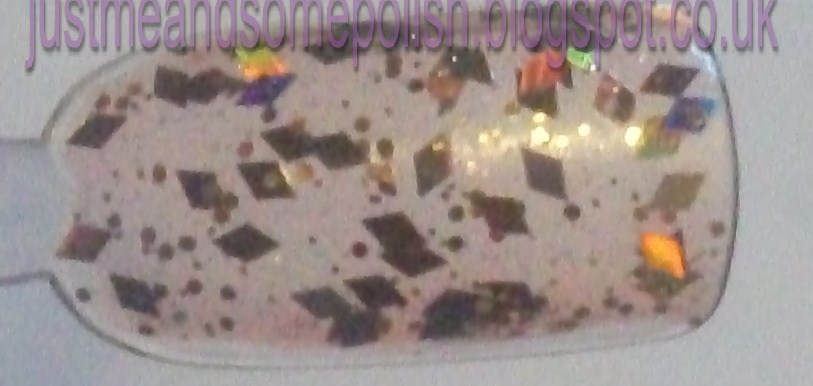
After about 20 minutes I slowly peeled off the plastic and discovered FAKIE, HOMEMADE SPOTTY NAILS!! This excited me greatly as I had recently spotted, well Black Spotted by OPI and oh how I craved it! This wasn't totally dry so I waited another 5 mins to do a top coat.
 |
| Strange shaped nail! lol! |
Trust me, this looks SOOOOOOO much better in person, blame the camera!
I wish I had discovered this first but will do a full mani soon in it.
So, there you have it, homemade spotty/crackly/shattery nails...
It may not be OPI or Barry M standard but it works (kinda) and I like it.
Oh!! And it
dried properly and quickly, just like regular polish even with the oil and water in! The two just dried up as the nail polish dried and the effects were unharmed! I don't think this could be a bottled franken as the mixture would, over time, go
funny, so I am just going to make a mini mixture as and when I want it.
Best of all... you can use ANY colour, ANY finish and did I mention... it's FREE!!!
P.S. please excuse any dry, tired and/or ugly cuticles. I wasn't expecting this to be a real post!
Hope you like it as much as I do.
Have a go at home and link me with results.
Pixie~nails x